Its hard to believe that you can create 3D printed toys in your own home these days. Were living in the future!
Its taken me a couple of days to print and paint these GoatPunk toys, but in retrospect thats still a lot faster than getting them sent off to Shapeways for printing and discovering I need to tweek the model only to wait another month to see if things worked out.
I didn’t expect the prints to come out this good from the get go. I was assuming there would have been a great deal of setup and fine tuning the printer and 3D model. It all just worked from the first print. I can’t wait to see what else I can make with this 3D printer.
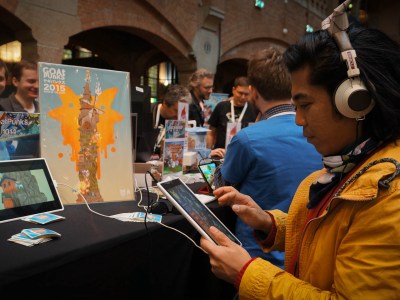
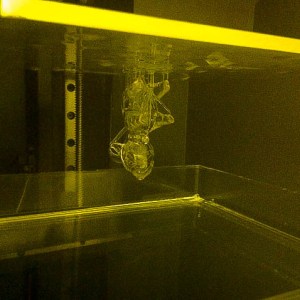
- I Recently got myself a 3D printer, so this will be the first test print coming out of the Pegasus Touch by FSL3D
-
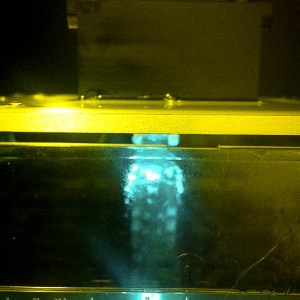
- The 3D printer uses UV laser to cure the resin
-
- After each layer is sketched with the laser the build platform rises and dunks the print back into the resin
-
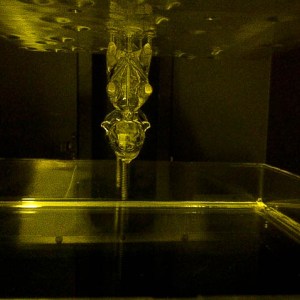
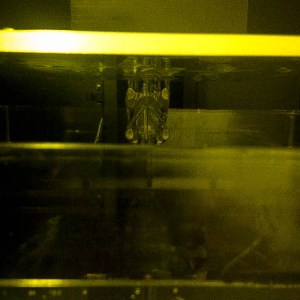
- The print is held to the build platform with support structures that look very alien
-
- The model is finished and left to drip the excess resin
-
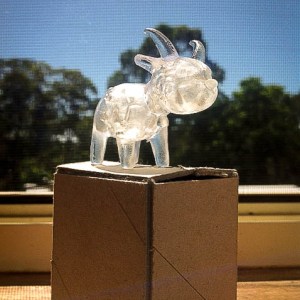
- After the model is removed from the build plate, it is then submerged in Isopropyl Alcohol for 15 minutes to remove the excess resin
-
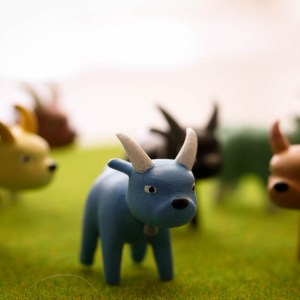
- After testing printing one goat, I scaled up the operation and printed twelve more.
-
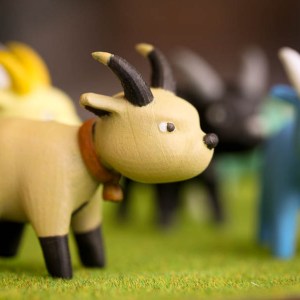
- Each goat was then hand painted using acrylic modelling paint the same as what the use for Warhammer models
-
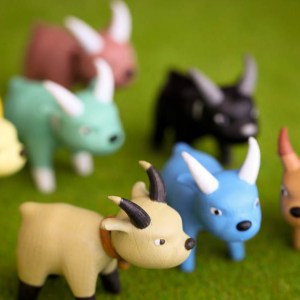
- I tried a variety of colour similar to the colour scheme you see on the GoatPunks game
-
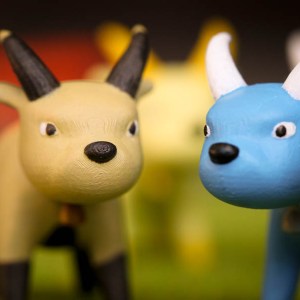
- Some of the grain from the 3D print come out, but I’m still impressed with the resolution of each print
- Found some nice containers that fit the goats perfectly
-
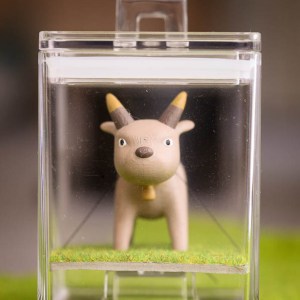
- I also created a grass platform for them to stand on, as well as tying them down with sewing string so they stay in place
- These containers are quite nice as they stack together and are sealed air tight. Here is the full set of goats printed and painted